Welcome to Relaxed Farming
- Alpacas
- Chickens
- Dairy Goats
- Ducks
- Geese
- Pigs
- Pygmy Goats
- Quail
- Rabbits
- Sheep
- Turkeys
- Polytunnel
- Photo Stories
- Video Stories
- Food
- Smallholding Map
|
All about the polytunnel
Click to read more
|
The polytunnel build
See below
|
The polytunnel plan
Click to read more
|
The polytunnel year
Click to read more
|
The planting year
Click to read more
|
| Planning | Uprights | Frame | Cultivating | Trench | Doors | Covering 1 | Covering 2 | Fitting | Raised beds | Compost | Finished! |
|
Fitting
And then came the tricky bit! We needed to cut the polythene to fit the doors - the polythene is very strong to lean against but a sharp knife or the edge of a shovel makes a nasty hole which needs repair tape as soon as possible. Chris made sure we had the polythene as tight as it needed to be before we cut and then started stapling to the wooden door frames. There was an awful lot of spare polythene which can be used to make 'mini' polytunnels or 'cloches' for plants that do not grow too tall... 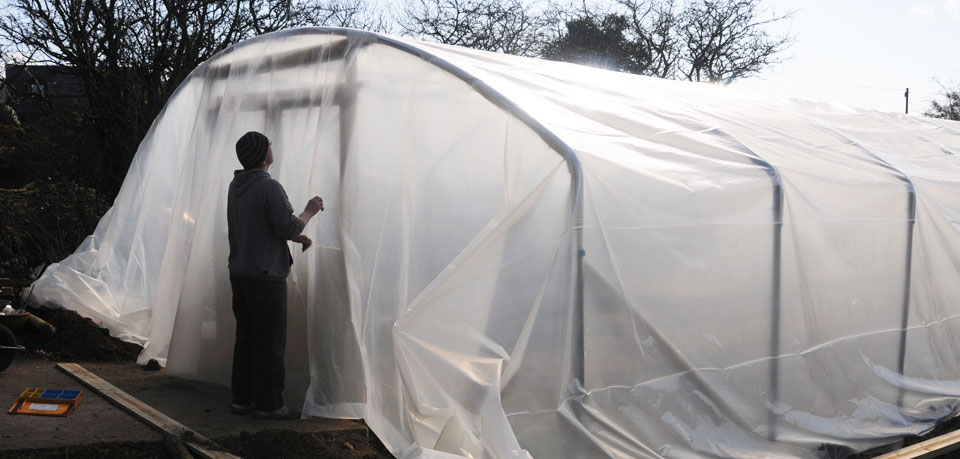 |